SESSION 1 ::: OCR A Level Media Studies Conference ::: Thursday 16 March 2006
iMovie + Photoshop ::: Titles using Slick Matte-tastic
IN iMOVIE
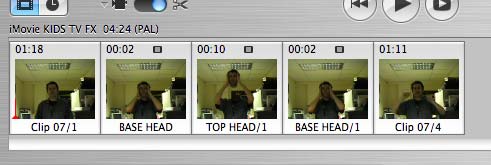
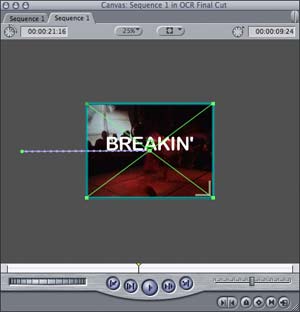
1. Position the Tape Head on the video frame you want to use as template in the iMovie Timeline.
2. Select File > Save Frame As.. (apple F)
3. Choose Format: pict
4. Save & name
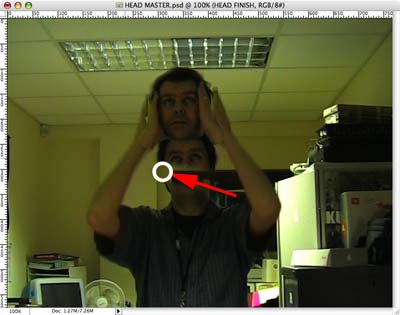
IN PHOTOSHOP
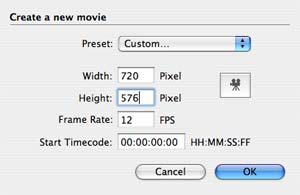
1. Open the pict file. (N.B. Image size = Frame size ::: width 768 pixels x height 576 pixels)
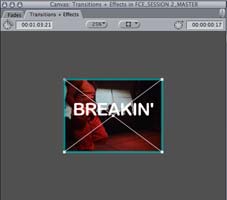
2. Design Title / Font + position etc.
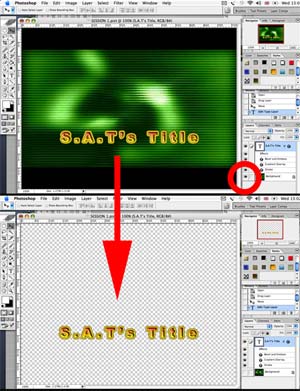
3. Switch off Background Layer (i.e. the original pict image) to make background transparent.
4. Save
BACK TO iMOVIE
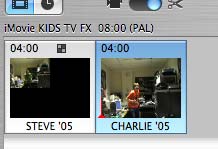
1. Select the video clip in the Timeline.
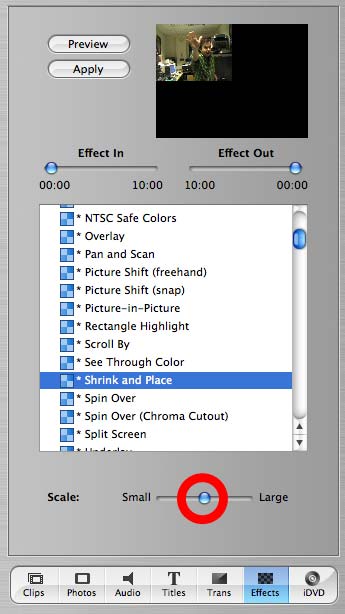
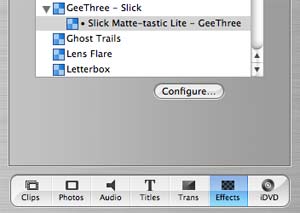
2. In the iMovie Effects panel select GeeThree - Slick Matte-tastic lite.
3. Click Configure...
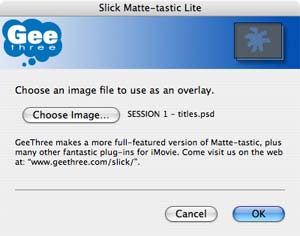
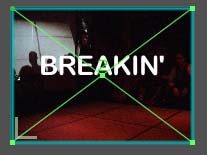
4. Choose your Photoshop title image.
5. Click OK.
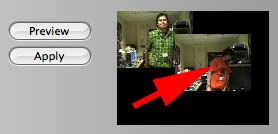
6. Preview effect.
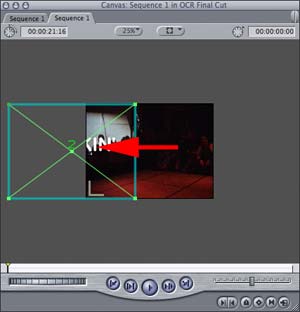
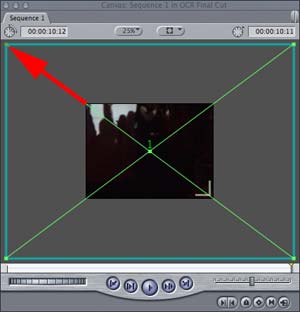
7. Adjust the Effect In + Effect Out to create fade in and fade out of title.
8. Click Apply.
NOTES / LINKS
Put iMovie effect plug-ins into the iMovie Plug-ins folder:
Macintosh HD > Users > "Account" folder > Library > iMovie > Plug-ins
***** GeeThree - Slick Matte-tastic lite *****

GeeThree also provides an exclusive version of Slick Matte-tastic Lite in this book: iMovie 3 Solutions: Tips, Tricks, and Special Effects - Erica Sadun, that practically pays for the book itself !
| Permalink | ![]()